
目录
The installation of electrical boxes is a critical step in electrical wiring projects. These boxes serve as enclosures for electrical connections, ensuring safety, organization, and easy access for maintenance. This comprehensive installation guide will cover various types of electrical boxes, including PVC and metal variants, providing step-by-step instructions and best practices for their installation. By following these guidelines, you can ensure a safe and efficient electrical installation.
Overview of PVC Electrical Boxes:
Electrical boxes, also known as junction boxes or enclosures, are essential components of electrical systems. They serve as protective casings for electrical connections, preventing accidental contact, minimizing fire risks, and facilitating maintenance and troubleshooting. Electrical boxes are designed to house various electrical devices such as switches, outlets, circuit breakers, or wire splices.
Definition and Purpose of Electrical Boxes:
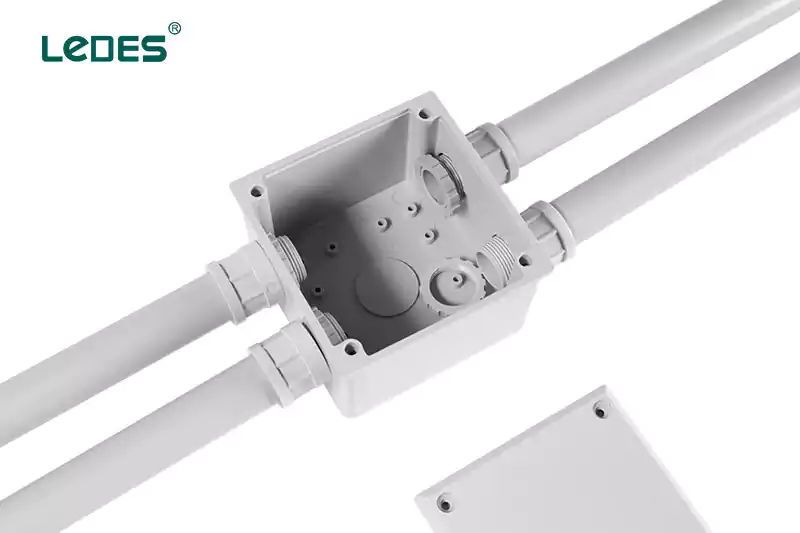
An electrical box is a container made of non-conductive or conductive materials, designed to enclose electrical connections securely. Its primary purpose is to protect electrical wiring connections and components from physical damage, environmental hazards, and unauthorized access. Electrical boxes provide a stable platform for mounting electrical devices and ensure compliance with electrical codes and safety regulations.
Importance of Proper Installation:
Proper installation of electrical boxes is of utmost importance for several reasons:
1. Safety:
Adequate installation of electrical boxes minimizes the risk of electrical shocks, short circuits, and fires caused by exposed or improperly connected wires. It provides a secure barrier between live electrical components and the surrounding environment.
2. Organization:
Electrical boxes promote organization by containing wires and components within a designated space. This makes troubleshooting, repairs, and modifications more manageable and minimizes the chances of accidental damage to the electrical system.
3. Compliance with Codes:
Electrical codes and regulations dictate specific requirements for the installation of electrical boxes. Adhering to these codes ensures that the electrical system meets safety standards and is in compliance with local, regional, and national regulations.
Code Requirements and Safety Considerations:
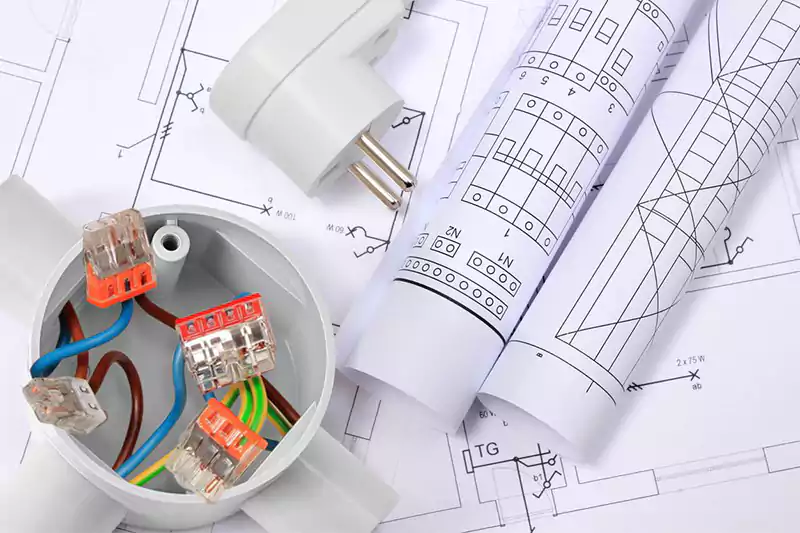
When installing electrical boxes, it is essential to adhere to relevant electrical codes and safety considerations. These may include:
1. Box Size and Capacity:
Electrical codes specify the minimum size and capacity requirements for electrical boxes based on the number and size of wires and devices to be housed inside. Following these requirements prevents overcrowding, reduces heat buildup, and ensures ample space for proper wire connections.
2. Grounding:
Electrical boxes must be properly grounded to establish a safe path for electrical currents and protect against electrical faults. Grounding requirements vary depending on the type of electrical box and the specific application.
3. Box Location and Accessibility:
Electrical codes may dictate the appropriate location and accessibility of electrical boxes. For example, they may require certain clearances from combustible materials or specify the minimum distance between boxes and other components.
4. Box Material:
Electrical boxes are available in various materials such as metal, PVC, or fiberglass. Each material has different properties and may be suitable for specific applications. Codes may specify the approved materials for different environments and electrical conditions.
5. Box Covers:
Installing appropriate box covers is essential to protect the electrical connections from accidental contact, prevent dust or debris accumulation, and comply with safety standards. The type of cover required may vary based on the box type and the specific application.
Common Used PVC Electrical Box Types:
In the installation of electrical systems, many different types of electrical boxes are usually used, but their uses and installation requirements are different. When using them, you must choose the correct type of electrical box and follow the correct installation method. The following are some common types of electrical boxes.
Adaptable Box:
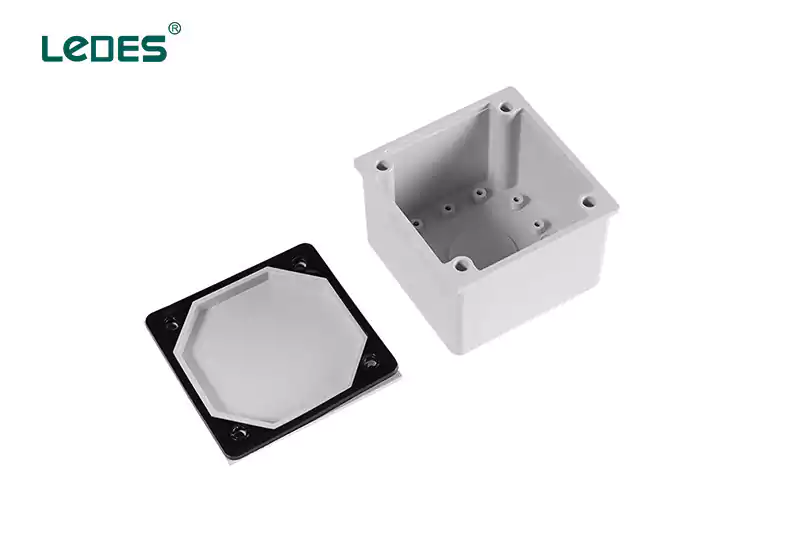
An adaptable box, also known as a utility box or handy box, is a versatile electrical box used for various purposes. It is typically small in size and features multiple knockouts or openings to accommodate different wiring configurations. Adaptable boxes are commonly used for light fixtures, switches, outlets, and low-voltage wiring installations.
Junction Box:
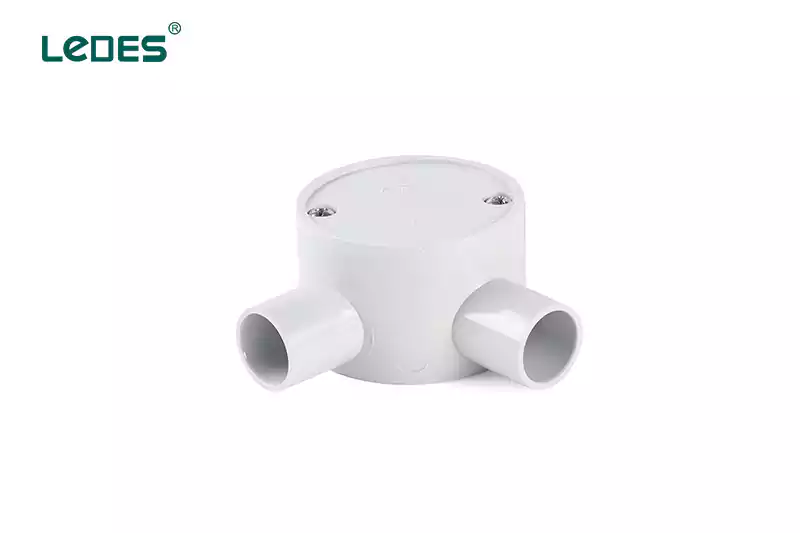
A junction box serves as a central hub for electrical connections. Its primary purpose is to provide a secure enclosure for wire splices or connections, ensuring they are protected and organized. Junction boxes are available in different sizes and configurations, and they are commonly used in residential, commercial, and industrial applications.
Switch Box:

A switch box is specifically designed to house switches. It provides a secure enclosure for the electrical connections associated with the switch, such as wiring and terminals. Switch boxes come in various sizes and configurations to accommodate different types of switches, including single-pole, double-pole, or three-way switches.
Outlet Box:
An outlet box, also known as a receptacle box, is designed to house electrical outlets or receptacles. These boxes provide a safe and protected enclosure for the wiring connections associated with outlets. Outlet boxes come in different sizes and configurations to accommodate various types of outlets, such as standard outlets, GFCI outlets, or USB outlets.
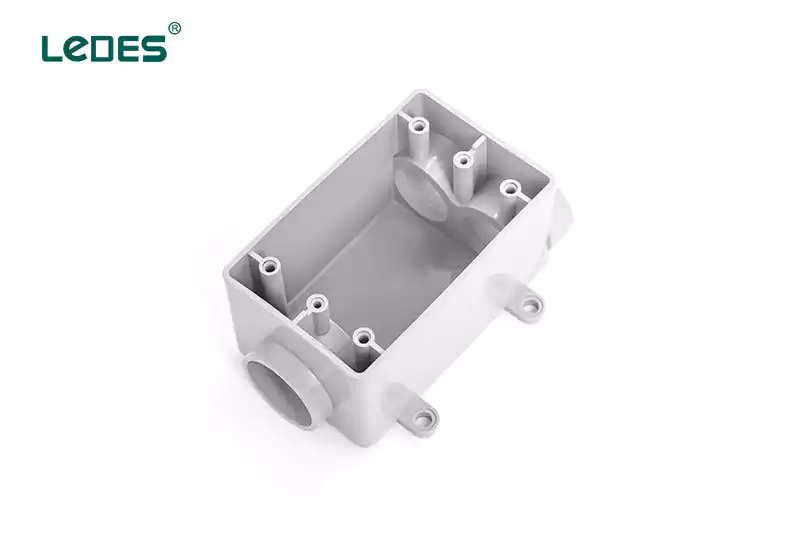
A gang box, also referred to as a multi-gang box, is a larger electrical box that can accommodate multiple switches or outlets in a single unit. Gang boxes are commonly used in areas where multiple switches or outlets need to be installed together, such as in kitchens or living rooms. They provide a convenient and organized solution for wiring multiple devices in one location.
Ceiling Box:
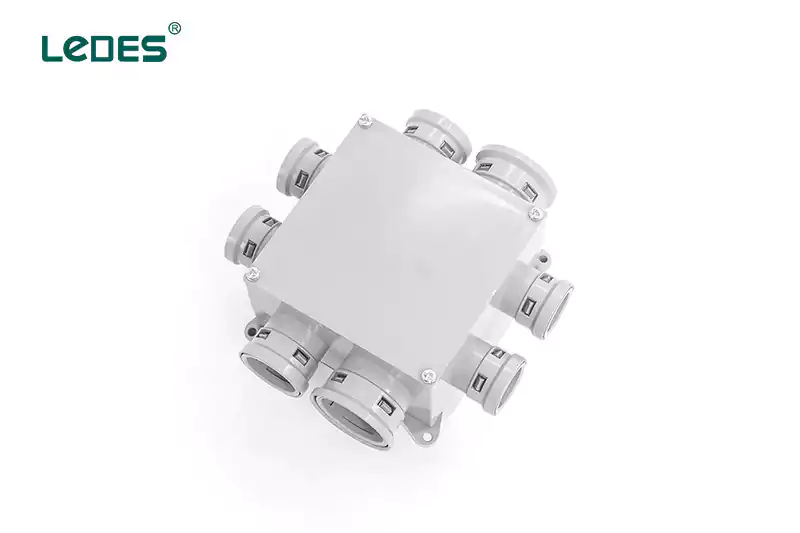
A ceiling box is specifically designed for electrical connections in ceiling installations. It is commonly used for mounting light fixtures, ceiling fans, or other overhead electrical devices. Ceiling boxes are designed to support the weight of the fixture and provide a secure enclosure for wiring connections.
Floor Box:
A floor box is an electrical box designed for installations in the floor. It provides a convenient and safe solution for power outlets, data ports, or other electrical connections in areas where floor access is required. Floor boxes are commonly used in commercial settings, such as offices, conference rooms, or public spaces.
Electrical Box Installation
Different box types could have different installation steps and requirements, it’s always recommended to consult professional electrician for help. Here are some general installation guidelines you can refer to:
Installation for Adaptable Boxes:
Applications and Suitable Environments:
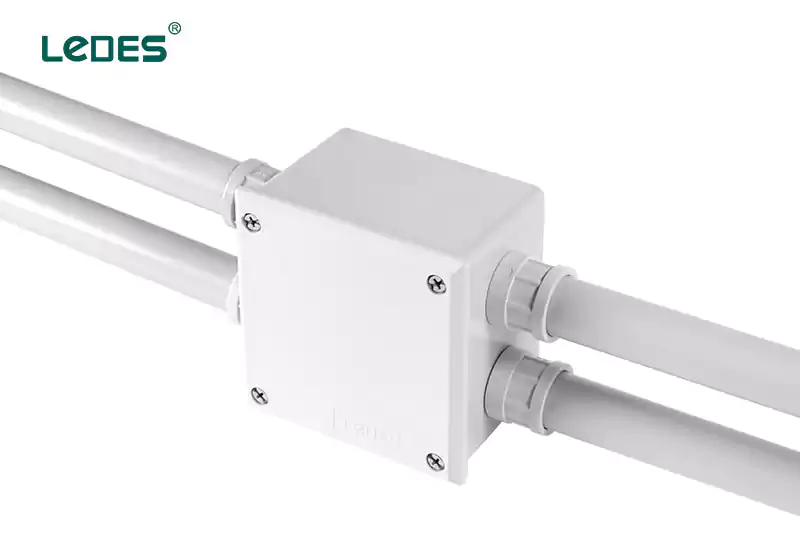
Commercial Buildings: Adaptable boxes are commonly used in commercial buildings, such as offices, retail stores, or hospitals, to manage electrical connections for lighting systems, power outlets, or data cabling.
Industrial Settings: They find applications in industrial environments, including factories and manufacturing facilities, for organizing electrical connections for machinery, control panels, or motor controls.
Residential Installations: Adaptable boxes can be installed in homes for managing electrical connections in rooms, kitchens, or outdoor areas, providing a flexible solution for future modifications or additions.
How to Install the Adaptable Boxes: 8 Steps
- Select the Location: Choose a suitable location for the adaptable box, considering accessibility, cable routing requirements, and compliance with electrical codes and regulations.
- 准备安装表面: Ensure the mounting surface, such as a wall or ceiling, is sturdy and provides proper support for the box. Make any necessary preparations, such as drilling holes or installing mounting brackets.
- Install Cable Entry Glands: Depending on the box design, install cable entry glands or conduits in the appropriate locations to route the cables into the box.
- Mount the Box: Attach the adaptable box to the mounting surface using suitable screws or mounting brackets. Ensure it is securely fixed in place.
- Connect the Cables: Route the cables through the cable entry points or conduits and make the necessary electrical connections inside the box according to the wiring diagram or project requirements.
- Secure and Organize Cables: Use internal cable clamps or cable ties to secure and organize the cables within the box, preventing strain or damage.
- Close the Box: Place the box cover over the enclosure and secure it using the provided fasteners or locking mechanisms. Ensure the cover is properly closed and sealed.
- Test and Verify: Once the installation is complete, perform testing and verification procedures to ensure proper electrical connections and functionality.
How to Install the Junction Box: 6 Steps

- Box Selection: Choose a junction box that suits the specific application. Consider factors such as the size, material (e.g., plastic or metal), and the number of wire connections required. Ensure that the box meets the necessary electrical codes and regulations.
- Location: Determine the appropriate location for the junction box. It should be easily accessible for future maintenance and repairs. Follow local electrical codes regarding placement, clearance requirements, and proximity to other objects or materials.
- 安装: Securely mount the junction box to a suitable surface, such as a wall or ceiling. Use appropriate hardware, such as screws or anchors, to ensure a secure and stable installation. The box should be flush with the surface and securely attached to prevent movement.
- 接线连接: Carefully route the electrical wires into the junction box. Strip the insulation from the wires, exposing an appropriate length for connections. Follow proper wire splicing techniques (e.g., using wire nuts) to join the wires securely. Ensure that all connections are properly insulated and protected.
- 接地: If required by electrical codes, ensure proper grounding within the junction box. Connect the ground wires to the designated grounding points within the box, such as grounding screws or terminals. Proper grounding helps protect against electrical faults and ensures safety.
- Cover Installation: Once all the wiring connections are made, securely attach the cover plate or lid to the junction box. The cover should be compatible with the box and provide a secure seal. This protects the wires and prevents accidental contact.
11 Steps to Install the Switch, Outlet, and Gang Boxes:
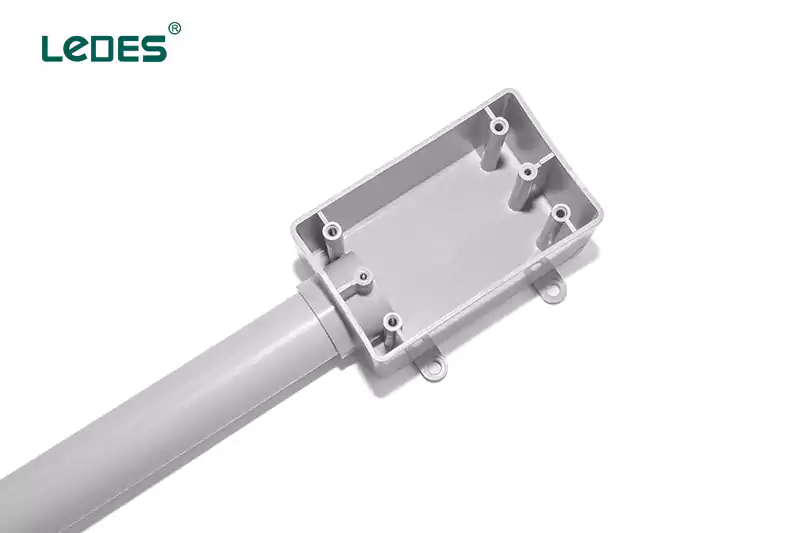
The installation process for switch boxes and outlet boxes has some similarities, but there are also important differences. Here are the combined installation steps for both types.
- Turn off the Power: Before starting any electrical work, turn off the power to the circuit where the box will be installed. This can be done by switching off the circuit breaker or removing the corresponding fuse.
- Choose the Location: Select a suitable location on the wall or in the ceiling for the box, considering functionality and accessibility. Ensure compliance with electrical codes and regulations.
- Mark the Position: Use a pencil or marker to mark the outline of the box on the wall or ceiling. Ensure it is level and aligned properly.
- Cut the Opening: Using a utility knife or a drywall saw, carefully cut along the marked outline to create an opening for the box. Take care not to cut any electrical wires behind the wall or ceiling.
- Mount the Box:
- Switch Box: Insert the switch box into the opening and ensure it fits securely. Attach the box to the wall using screws or nails. Ensure the box is flush with the wall surface.
- Outlet Box: Insert the outlet box into the opening and ensure it fits securely. Secure the box to the wall with screws or by using adjustable mounting wings. Ensure the box is flush with the wall surface.
- Gang Box: Insert the gang box into the opening and ensure it fits securely. For wall-mounted boxes, secure the box to the wall studs or using adjustable mounting wings. For ceiling-mounted boxes, use appropriate brackets or support systems to secure the box.
- Prepare the Wiring: If necessary, strip the insulation from the ends of the electrical wires to expose the conductors for connection. Ensure the wires are long enough to reach the box.
- Connect the Wires:
- Switch Box: Connect the hot (line) wire and the switched wire to the appropriate terminals on the switch inside the box. Typically, black wires are connected to the brass-colored terminals.
- Outlet Box: Connect the hot (line), neutral, and ground wires to the corresponding terminals on the receptacle inside the box. Typically, black wires are connected to the brass-colored terminals, white wires to the silver-colored terminals, and green or bare copper wires to the green grounding screw.
- Gang Box: Connect the electrical wires as needed for your specific application. This may involve splicing wires together using wire connectors or making connections to devices or fixtures within the box.
- Secure the Devices or Fixtures:
- Switch Box: Attach the switch to the switch box by aligning it with the screw holes and tightening the screws. Ensure the switch is securely attached and does not move.
- Outlet Box: Attach the receptacle to the outlet box by aligning it with the screw holes and tightening the screws. Ensure the receptacle is securely attached and does not move.
- Gang Box: Install devices or fixtures within the gang box according to the manufacturer’s instructions. Use screws or other provided fasteners to secure the devices in place.
- Install the Box Cover:
- Switch Box: Install a switch plate cover over the switch by aligning it with the screw holes and tightening the screws. Make sure the cover is straight and level.
- Outlet Box: Install an outlet plate cover over the receptacle by aligning it with the screw holes and tightening the screws. Make sure the cover is straight and level.
- Gang Box: Install an appropriate box cover. This may include a blank cover plate for unused gang boxes or specific covers for devices such as switches or receptacles.
- Turn on the Power: Once the box, devices, and wiring connections are securely installed, turn the power back on by switching on the circuit breaker or replacing the fuse.
- Test the Connections: Test the switches, outlets, or devices within the boxes to ensure they are functioning properly.
11 Steps to Install the Ceiling Boxes:
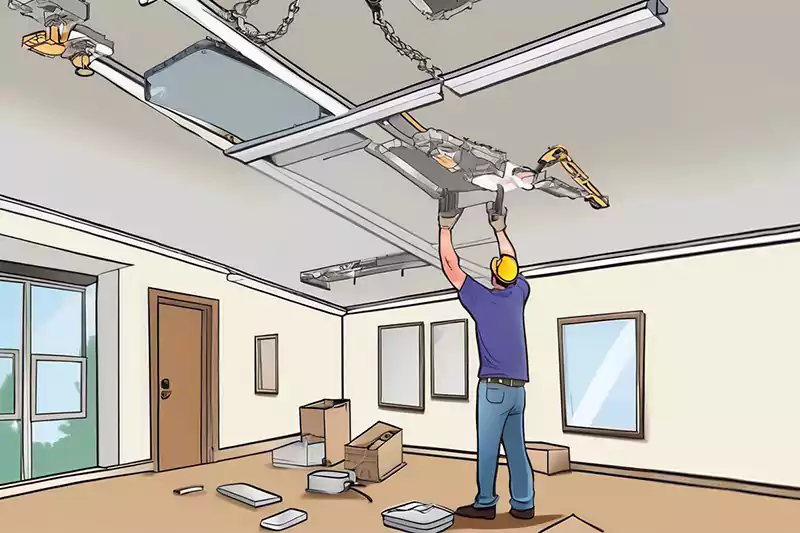
- Turn off the Power: Prior to beginning any electrical work, turn off the power to the circuit where the ceiling box will be installed. This can be done by switching off the circuit breaker or removing the corresponding fuse.
- Choose the Location: Determine the desired location on the ceiling for the box. Consider the type of fixture or device that will be installed and ensure there is proper support in the ceiling structure.
- Mark the Position: Use a pencil or marker to mark the outline of the ceiling box on the ceiling surface. Ensure it is centered and aligned properly.
- Cut the Opening: Using a stud finder, locate any ceiling joists or structural supports around the marked position. If necessary, use a utility knife or a drywall saw to carefully cut along the marked outline, ensuring that the opening is wide enough to accommodate the size of the ceiling box.
- Mount the Box: Insert the ceiling box into the opening and ensure it fits securely. For metal boxes, attach the box to the ceiling joists or supports using screws or nails through the provided mounting holes or brackets. For plastic or PVC boxes, use adjustable mounting brackets or other appropriate methods to secure the box to the ceiling structure.
- Prepare the Wiring: If necessary, strip the insulation from the ends of the electrical wires to expose the conductors for connection. Ensure the wires are long enough to reach the ceiling box.
- Connect the Wires: Inside the ceiling box, connect the electrical wires as needed for your specific application. This may involve splicing wires together using wire connectors or making connections to the fixture or device that will be installed.
- Secure the Fixture or Device: If installing a ceiling light fixture or fan, follow the manufacturer’s instructions for attaching and securing the fixture to the ceiling box. Typically, this involves aligning the fixture’s mounting bracket with the provided screws or mounting holes on the box and tightening them securely.
- Install the Box Cover: Once all wiring connections and fixture installations are complete, install the appropriate box cover. This may include a blank cover plate for unused ceiling boxes or specific covers designed for the type of fixture or device installed.
- Turn on the Power: Once the ceiling box, wiring connections, and fixture installations are secure, turn the power back on by switching on the circuit breaker or replacing the fuse.
- Test the Connections: Test the ceiling fixture or device to ensure it is functioning properly.
How to Install the Floor Box: 5 Steps
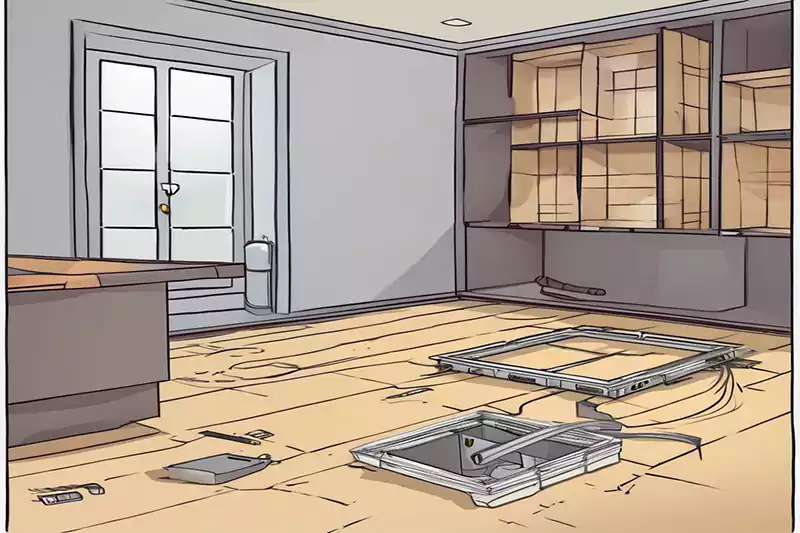
The installation process for floor boxes is similar to that of outlet boxes. But there are some differences, here are s few key distinctions:
- 安装: Outlet boxes are typically mounted on the surface of a wall, while floor boxes are recessed into the floor. The mounting methods and hardware used will differ between the two. 2. Outlet boxes may be secured to wall studs or other structural supports, while floor boxes often have adjustable brackets or mechanisms to secure them in place within the floor.
- Orientation: Outlet boxes are installed vertically on the wall, while floor boxes are installed horizontally within the floor. This difference in orientation affects the wiring connections and the positioning of devices or receptacles.
- 可访问性: Outlet boxes are generally more accessible for installation and maintenance since they are mounted at a convenient height on the wall. Floor boxes, on the other hand, require cutting an opening in the floor and may involve working in a more confined space.
- Box Covers: The box covers used for outlet boxes and floor boxes are designed differently. Outlet box covers may include faceplates or cover plates that match the surrounding wall surface. Floor box covers are typically flush with the floor surface when closed to provide a safe and level walking surface.
- Wiring Considerations: While both outlet boxes and floor boxes require proper wiring connections, the wiring configurations may vary. Outlet boxes are primarily used for receptacles and switches, while floor boxes may accommodate a wider range of devices and connections, including power outlets, data ports, or AV connections.
Remember to follow the manufacturer’s instructions and adhere to local electrical codes and regulations when installing these type of boxes. If you are unsure or uncomfortable with electrical work, it is recommended to seek assistance from a licensed electrician.
4 Factors Before Installation of Electrical Boxes
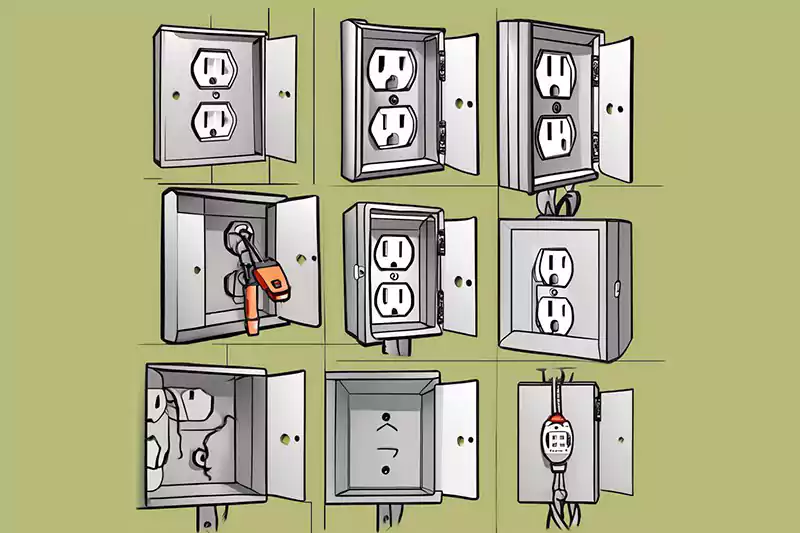
When it comes to the installation factors for these common used boxes, there are several key considerations. Here are the main factors to keep in mind:
▲Securing to Wall/Ceiling Materials:
Properly securing the box to the wall or ceiling is crucial for stability and safety. Depending on the material, such as drywall, wood, or concrete, you may need specific hardware, like screws, anchors, or brackets, to ensure a secure attachment. Follow the manufacturer’s instructions and use appropriate tools and techniques for securing the box to the specific wall or ceiling material.
▲Knockout Selection and Installation:
Outlet boxes and some ceiling boxes have knockout holes that allow for entry and exit points for electrical cables. It’s important to select the correct knockout size for the cables being used and install them properly. Knockout punches or pliers can be used to create the holes, and knockouts that are not in use should be closed with knockout covers or plugs to maintain the box’s integrity.
▲Proper Wire Bending and Strain Relief:
When installing electrical wires in the boxes, proper wire bending techniques should be followed to prevent damage to the wires and ensure neatness. Use appropriate wire bending tools, such as wire strippers and pliers, to shape the wires and maintain proper clearance within the box. Additionally, provide strain relief for the cables by using cable clamps or connectors to secure them to the box, preventing excessive tension or pulling on the wires.
▲Working with Box Fittings/Supports:
Box fittings and supports are essential for organizing and securing the electrical connections within the box. These may include cable connectors, conduit connectors, grounding screws, or mounting brackets. Follow the manufacturer’s instructions to properly install and utilize these fittings and supports, ensuring that they are compatible with the box and meet the necessary electrical codes and regulations.
NEC and Inspection Guidelines for Electrical Box Installation

When it comes to outlet boxes, ceiling boxes, and floor boxes etc., the National Electrical Code (NEC) provides guidelines and regulations to ensure safe installation and usage. Here are some key points regarding NEC and inspection guidelines for these boxes:
▲Box Location Rules:
The NEC provides guidelines on the placement and location of boxes. For instance, outlet boxes should be installed at appropriate intervals along walls, with specific rules for distances between boxes. Ceiling boxes should be securely attached to structural components, and floor boxes should be installed in accessible locations. Adhering to these rules helps ensure proper wiring connections and accessibility for maintenance and repairs.
▲Hazardous Location Boxes:
Certain environments, such as areas with flammable gases or dust, require special consideration for box installation. The NEC provides regulations for hazardous location boxes, including the types of boxes and materials suitable for those environments. These boxes must be properly rated and installed according to specific requirements to mitigate potential hazards.
▲Inspection Requirements:
Electrical installations, including outlet boxes, ceiling boxes, and floor boxes, are subject to inspection by local electrical authorities. Inspections help ensure compliance with the NEC and local codes, verifying that the boxes are installed correctly and safely. Inspections may involve checking the box location, wiring connections, grounding, box supports, and overall compliance with electrical codes and regulations.
▲Common Violations:
There are several common violations related to outlet boxes, ceiling boxes, and floor boxes that may be identified during inspections. These violations include improper box support, insufficient clearance around the box, inadequate grounding, improper use of knockouts, incorrect box fill calculations, and failure to secure cables properly. These violations can compromise the safety and functionality of the electrical installation.
It’s essential to consult the specific NEC guidelines and local electrical codes applicable to your area for detailed information and requirements regarding these boxes. Adhering to these guidelines and regulations is crucial for ensuring electrical safety and passing inspections. If you have any uncertainties or concerns, it is advisable to seek guidance from a licensed electrician or the local electrical authority.
Are the Installation Methods for PVC and Metal Electrical Boxes the Same?

Yes, the installation methods for PVC (polyvinyl chloride) and metal electrical boxes are generally the same for these types of boxes. The key factors to consider, such as box location rules, hazardous location requirements, inspection guidelines, and common violations, apply to both PVC and metal boxes.
The installation steps, mounting techniques, wiring connections, and adherence to electrical codes and regulations are similar for both types of boxes. However, there may be some slight differences in the specific hardware or tools used for securing the boxes due to variations in the materials.
For PVC boxes, plastic anchors or screws designed for PVC applications may be used to secure the boxes to the wall, ceiling, or floor. Metal boxes, on the other hand, may require different types of screws, anchors, or brackets suitable for metal installation.
结论
In conclusion, the installation of electrical boxes, including outlet boxes, switch boxes, adaptable boxes, gang boxes, ceiling boxes, and floor boxes, requires adherence to best practices and compliance with electrical codes. By following these guidelines, the safety and functionality of the electrical system are ensured.
Code compliance is of utmost importance during installation. Adhering to the National Electrical Code (NEC) and local electrical codes ensures that the installation meets the necessary safety standards and regulatory requirements. Inspections by local electrical authorities further validate code compliance and help maintain electrical safety.
That’s it. If you still have any questions, feel free to contact us to submit the contact form 或者 send an email instead. Our business manager will get back to you no later than 24 hours.


