Table of Contents
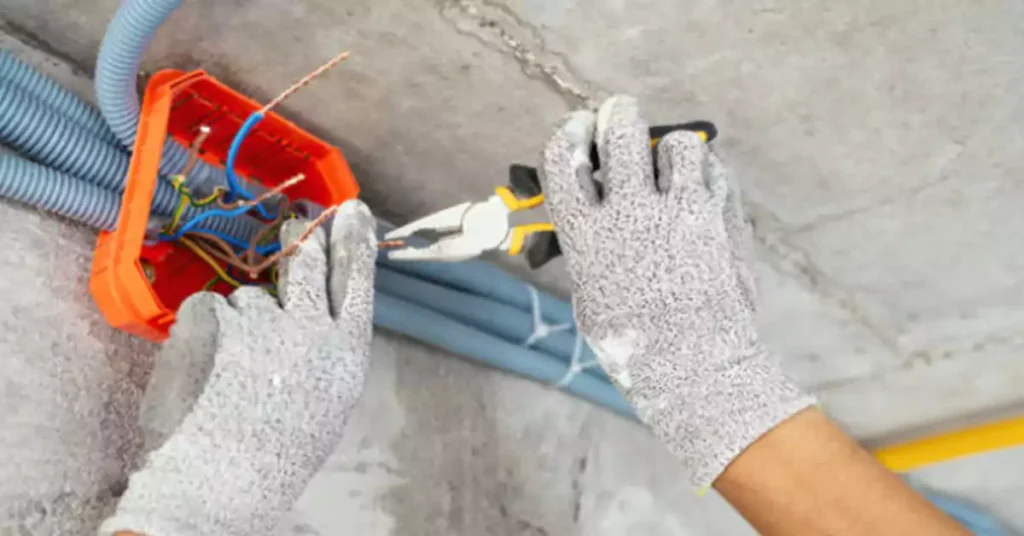
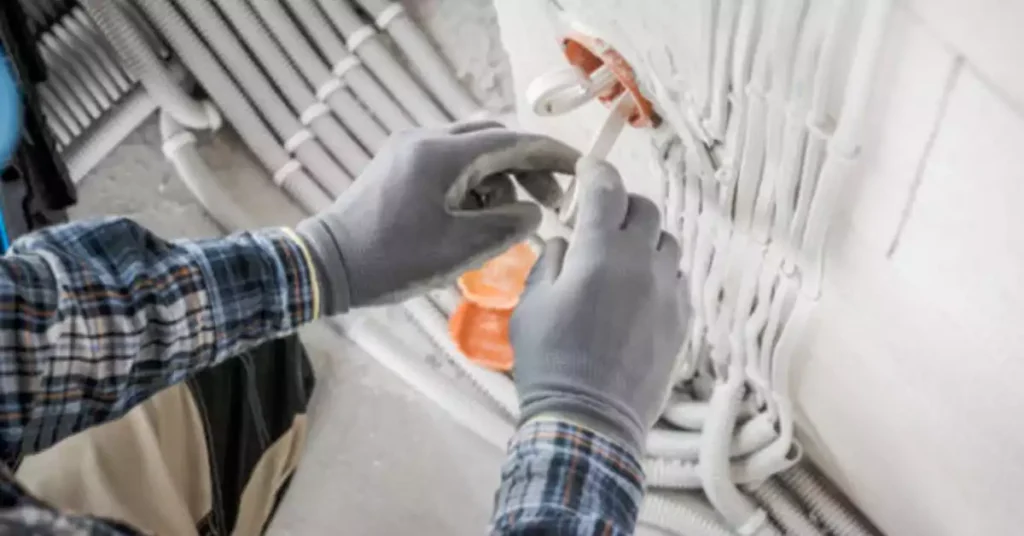
Feeding wire through a conduit is a common task in electrical installations, whether you’re wiring a new building, running electrical cables for renovations, or installing communication lines. It’s crucial to get this process right to ensure safety, functionality, and compliance with standards. Using proper techniques can prevent damage to both the wiring and the conduit while also minimizing labor. This article will cover six effective methods for feeding wire through conduit.
Considerations Before Wire Pulling
Before beginning the process of pulling wires through conduit, it’s essential to prepare carefully. Not only can this prevent unnecessary strain on both the wires and conduit, but it also helps avoid complications such as broken wires or system malfunction down the road.
1. Conduit Size and Type:
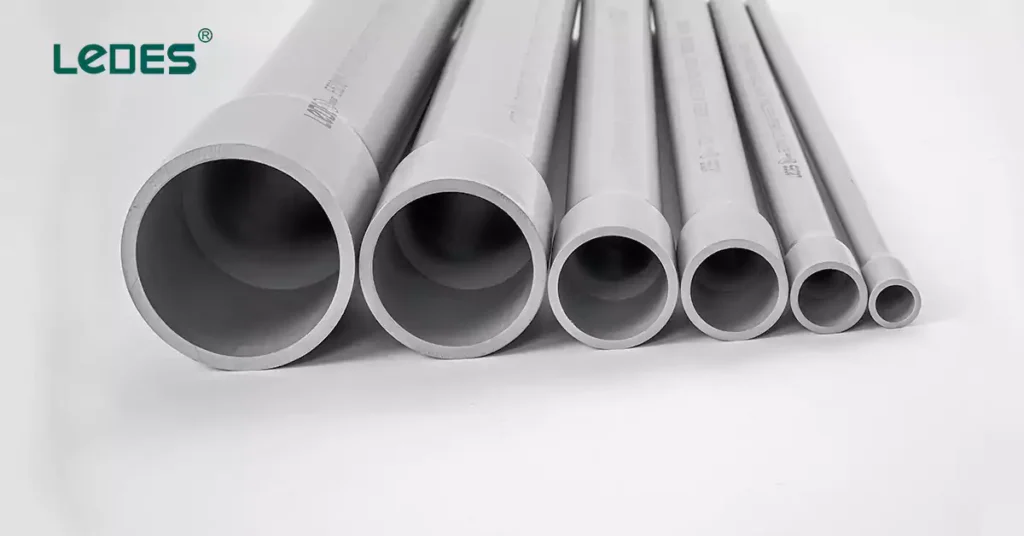
The size and type of conduit (PVC, EMT, flexible) will significantly impact the ease of wire pulling. Larger conduits can accommodate more wires, but they also require more force to pull the wires through. Understanding the National Electrical Code (NEC) guidelines on conduit fill is crucial to avoid overheating and ensure compliance.
2. Wire Type and Size:
Different types of wires (THHN, NM, etc.) have varying levels of flexibility and rigidity. Larger gauge wires may be more challenging to pull, especially in longer runs. It’s essential to select the appropriate wire for the intended application.
3. Conduit Length and Route:
The length of the conduit run and any bends or turns will affect the pulling process. The more bends in the conduit, the more difficult it will be to pull the wire. Planning the route with as few turns as possible will facilitate easier wire pulling.
4. Environmental Conditions:
Factors such as temperature, humidity, and the presence of dust or moisture can affect both the wire and the pulling process. For instance, high humidity can cause wires to stick together, making them harder to pull.
5. Tools and Equipment:
Having the right tools on hand is essential. This includes wire pullers, lubricants, and safety gear. Assessing the tools required for the job ahead of time can save time and prevent complications.
An Important Material: Lubricants
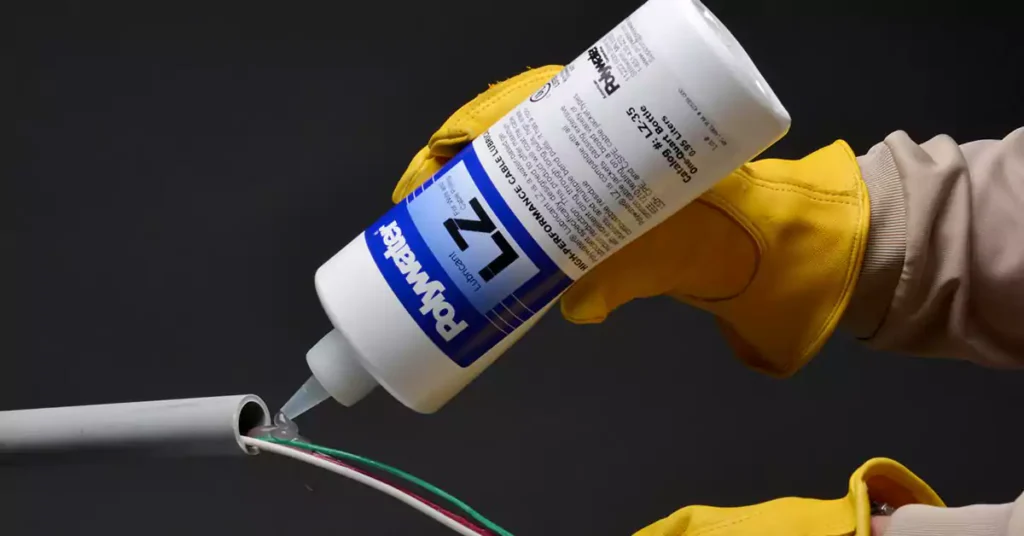
Wire-pulling lubricants (often called wire lube or pulling lube) play an essential role in reducing the friction between the wire and the conduit. When pulling wire through long runs or conduit with multiple bends, friction can build up, making it difficult to pull the wire smoothly. Lubricants help ensure that the wire slides easily, protecting it from damage.
a. Types of Lubricants:
There are two primary types of wire-pulling lubricants: water-based and wax-based.
- Water-Based Lubricants: These are the most commonly used lubricants. They’re easy to clean up, environmentally friendly, and work well in a wide range of temperatures.
- Wax-Based Lubricants: These are thicker and may be necessary for more extreme conditions, such as hot or cold environments. Wax-based lubricants are more resistant to drying out over time, which is useful for long-term applications.
b. How to Apply Wire Lubricant:
Apply lubricant generously to the wire before starting the pull. Be sure to coat the wire evenly and apply extra lubricant at the conduit’s entry point to minimize resistance. If the pull is particularly long or difficult, you can pause midway to add more lubricant to the wire.
6 Ways to Pulling the Wire Through Conduit
There are several different techniques for pulling wire through conduit, and the best one for you will depend on the length of the run, the type of wire, and the available equipment. Below, we explore six common methods used for wire pulling:
● Manual Pulling
Manual pulling is the simplest and most straightforward method, but it’s typically used only for short, straight runs. This method involves feeding the wire into the conduit by hand while guiding it to minimize friction and resistance.
5 Steps for Manual Pulling:
- Prepare the Conduit: Inspect the conduit for any debris or sharp edges that could damage the wire. Clean the inside of the conduit if necessary to ensure a smooth pull.
- Lubricate the Wire: Apply wire-pulling lubricant generously to the wire to reduce friction and make it easier to pull through the conduit. Coat both the wire and the entry point of the conduit.
- Feed the Wire: Begin feeding the wire into the conduit slowly, guiding it to prevent tangling. One person can feed the wire while another pulls from the opposite end.
- Maintain Steady Tension: The person pulling the wire should apply even, steady pressure to avoid kinks or bends. If you feel resistance, stop and adjust to prevent damage to the wire insulation.
- Complete the Pull: Once the wire is through, check it for any signs of damage, such as nicks or cuts. Ensure the wire has enough slack at both ends for making the necessary electrical connections.
Manual pulling is ideal for short runs or when no specialized tools are available. However, for longer or more complex runs, this method can be physically demanding and less efficient.
● Wire Pulling with a Mouse
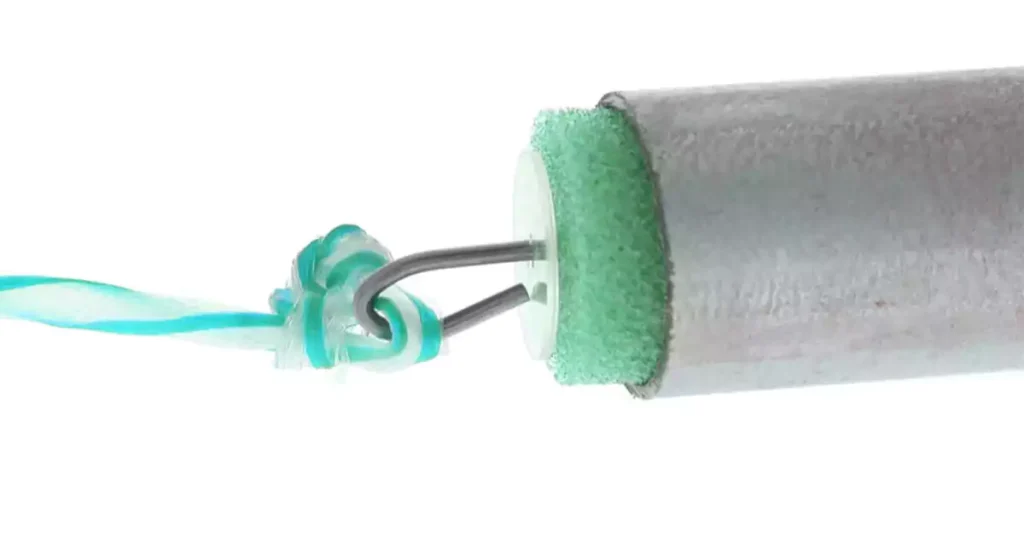
Using a mouse is a highly effective method for medium-length runs, especially those with bends. The mouse, a small device usually made of foam or rubber, is pushed through the conduit by compressed air, pulling a string that is then used to pull the wire.
5 Steps for Wire Pulling with a Mouse:
- Select the Mouse: Choose a mouse that fits snugly inside the conduit without being too tight. The mouse should create enough resistance to be pushed by air but not so much that it gets stuck.
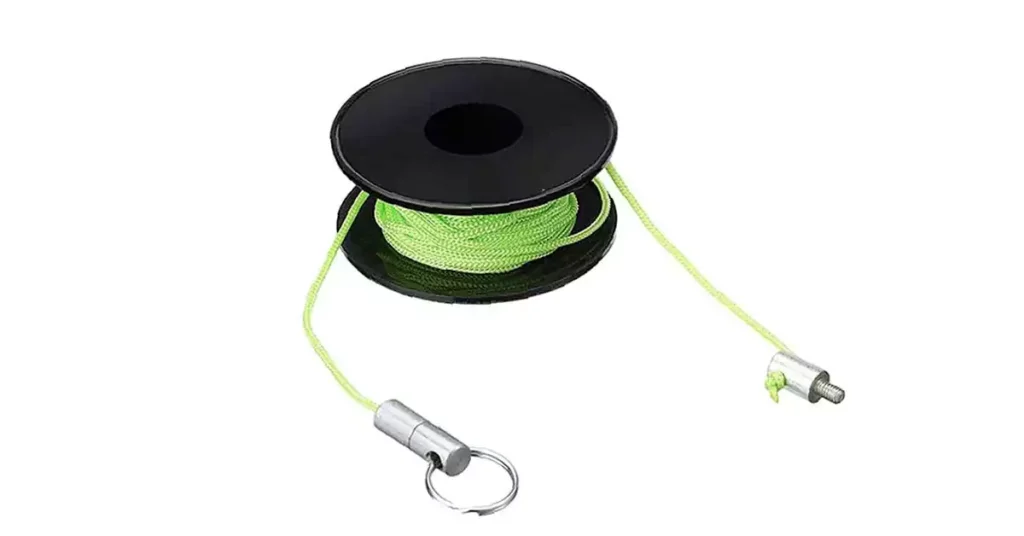
- Attach the Pull String: Tie a pull string securely to the mouse using a strong knot. Ensure the string is long enough to reach the other end of the conduit.
- Set Up the Air Blower: Insert the air blower nozzle into the conduit, making sure the seal is tight to maximize air pressure. Turn on the blower and push the mouse through the conduit.
- Retrieve the Mouse and String: Once the mouse exits the other end of the conduit, retrieve the string and mouse. Detach the mouse and check that the string is free of knots.
- Pull the Wire: Attach the wire to the pull string and pull it through the conduit, applying wire lubricant as needed for smoother movement.
This method is efficient for medium to long runs, especially in conduits with bends, as the air pressure helps the mouse navigate tight curves.
● Wire Pulling with a String
Wire pulling with a string is a straightforward method suitable for short runs or conduits with limited bends. The string is either fed manually or blown through the conduit, then used to pull the wire.
5 Steps for Wire Pulling with a String:
- Insert the String: You can manually feed the string through the conduit or use air pressure (similar to the mouse method) to blow it through. Make sure the string is long enough to reach the full length of the conduit.
- Secure the Wire to the String: Once the string reaches the other end, securely tie the wire to it. Use electrical tape to make the connection smooth and prevent it from catching on any rough spots inside the conduit.
- Apply Lubricant: For longer pulls, apply lubricant to both the wire and the conduit entry point to reduce friction.
- Pull the Wire: Gently pull the string, guiding the wire through the conduit. Apply steady tension to avoid kinks or snags. If you encounter resistance, stop and adjust to prevent damage to the wire.
- Finish the Pull: Once the wire is fully through the conduit, detach it from the string and inspect it for damage. Ensure there is enough wire on both ends to make your connections.
Wire pulling with a string is an easy, cost-effective method, particularly useful for short, straight runs or when other tools aren’t available.
● Wire Pulling with Fish Tape
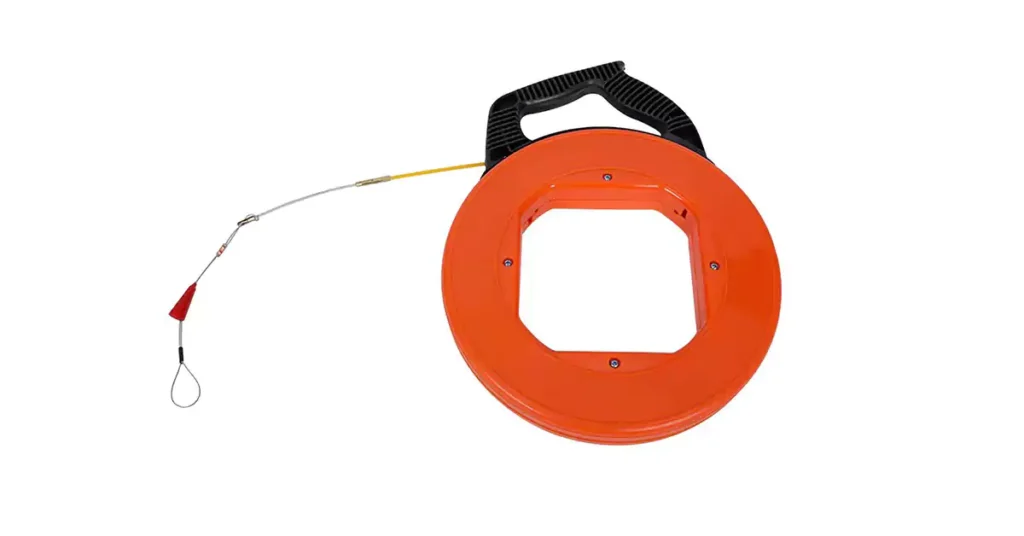
Fish tape is a common tool used to pull wire through conduit, especially in cases where the run is long or has bends. It is a thin, flexible steel or fiberglass tape that is pushed through the conduit and then used to pull the wire back.
5 Steps for Wire Pulling with Fish Tape:
- Feed the Fish Tape: Begin by inserting the fish tape into one end of the conduit. Slowly push the tape through the conduit, using its flexibility to navigate any bends. Continue pushing until the fish tape reaches the other end.
- Attach the Wire: Once the fish tape is through, attach the wire to the loop at the end of the tape. Use electrical tape to secure the wire tightly and create a smooth transition to avoid snags.
- Lubricate the Wire: If the run is long or has multiple bends, apply wire lubricant to reduce friction and make the pull easier.
- Pull the Wire: Retract the fish tape, pulling the wire through the conduit. Apply steady pressure and guide the wire as it moves through. If you encounter resistance, pause and apply more lubricant.
- Finish the Pull: Once the wire is through, detach it from the fish tape and inspect it for any damage.
Fish tape is highly effective for long or complicated runs and is a versatile tool that can be reused for multiple projects.
● Wire Pulling with a Fishing Weight
A fishing weight can be used to pull wire through a conduit by gravity, particularly in vertical or sloped conduits. A weight is attached to a string, and gravity helps pull the string through, which is then used to pull the wire.
5 Steps for Wire Pulling with a Fishing Weight
- Attach the Weight to the String: Secure a small but heavy fishing weight to the end of a pull string. Ensure that the string is long enough to reach the bottom of the conduit.
- Drop the Weight into the Conduit: Insert the weight into the top of the conduit and allow gravity to pull it downward. For horizontal or sloped runs, you may need to gently shake the conduit to help the weight move through.
- Retrieve the Weight: Once the weight reaches the bottom, retrieve it along with the pull string from the other end of the conduit.
- Attach the Wire to the String: Securely tie the wire to the pull string, using electrical tape to ensure a smooth connection.
- Pull the Wire: Pull the string from the opposite end, feeding the wire into the conduit as you pull. Apply wire lubricant if necessary to ease the pull.
This method is simple but effective for vertical or slightly sloped conduit runs where gravity can assist in pulling the string.
● Wire Pulling with a Pulling Machine
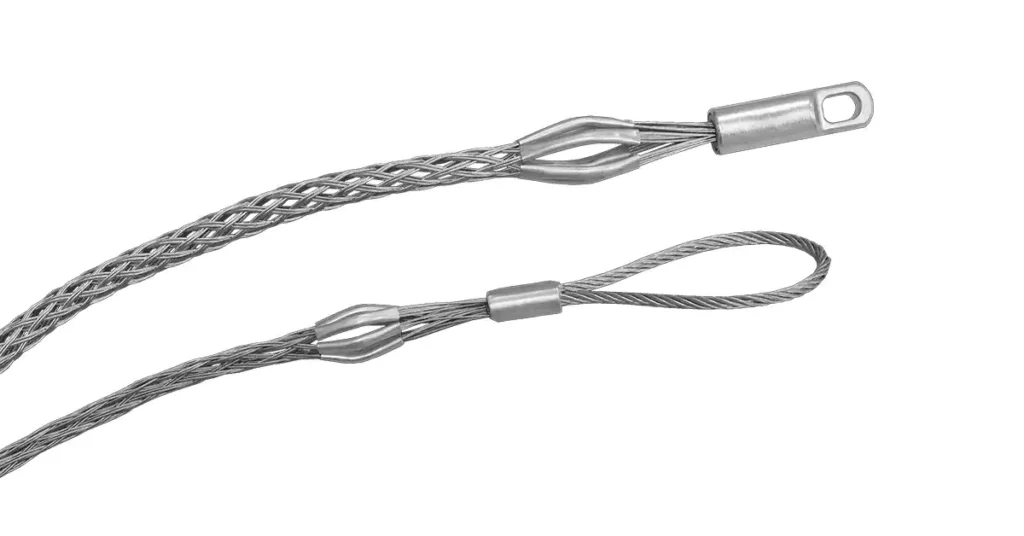
For long runs or particularly difficult conduit layouts, a pulling machine can be used. These machines apply a constant pulling force to the wire, making them ideal for long-distance or complex runs with many bends.
5 Steps for Wire Pulling with a Pulling Machine
- Set Up the Pulling Machine: Position the pulling machine at one end of the conduit. Make sure the machine is aligned properly to avoid damaging the wire.
- Feed Fish Tape or String: Before using the machine, feed fish tape or a pull string through the conduit, either manually or with the help of a mouse or fishing weight.
- Attach the Wire: Secure the wire to the fish tape or pull string. Double-check that the connection is strong and smooth, as the pulling machine will exert significant force on it.
- Activate the Pulling Machine: Start the machine and let it begin pulling the wire through the conduit. Monitor the pull closely to ensure the wire doesn’t snag or get damaged during the process.
- Complete the Pull: Once the wire is through, turn off the machine, detach the wire from the fish tape or string, and inspect it for damage.
Pulling machines are highly effective for long or complex runs but are typically used in commercial or industrial projects due to their size and cost.
5 Tips for Pulling Cables Safety
Pulling wires safely is critical for avoiding damage, ensuring a reliable electrical installation, and protecting everyone on the job. Whether it’s a small home project or a large commercial job, following safety steps and complying with electrical codes is essential. Here’s a simplified guide on how to pull wires safely.
a. Follow Electrical Codes
Before starting, make sure your wire-pulling process follows the National Electrical Code (NEC) or local regulations. These codes are there to ensure safety and proper installation. Key points to remember:
- Correct Wire Types: Use wires that are approved for use in conduit, such as THHN or XHHW, depending on your project.
- Conduit Fill Limits: Don’t overfill the conduit. There are specific rules about how many wires can safely fit inside a conduit to prevent overheating.
- Proper Conduit Size and Bends: Make sure the conduit is the right size for the wires and doesn’t have too many tight bends, which can make pulling difficult and damage the wire.
b. Wear Personal Protective Equipment (PPE)
Using the right protective gear keeps you safe while working. Important PPE for wire pulling includes:
- Gloves: Protect your hands from cuts and abrasions.
- Safety Glasses: Shield your eyes from dust, debris, or lubricant.
- Work Boots: Wear boots that are rated for electrical safety to protect against shocks.
c. Plan and Check the Conduit
Before pulling wires, take time to plan:
- Inspect the Conduit: Ensure the conduit is free from blockages, sharp edges, or debris that could damage the wire. Clean it if needed.
- Account for Bends: Identify how many bends or obstacles are in the conduit. Bends can increase resistance, so more lubricant may be needed.
- Calculate Pulling Tension: If it’s a long run, make sure you know the pulling tension limits of the wire to avoid stretching or damaging it.
d. Monitor Tension During the Pull
Too much pulling force can damage the wire. To prevent this:
- Use a Tension Gauge: If you’re using a pulling machine, monitor the tension to stay within the safe limits for the wire.
- Stop and Adjust: If you feel resistance, don’t force it. Stop, apply more lubricant, or adjust the wire to avoid damaging the insulation.
e. Avoid Overfilling the Conduit
Overfilling the conduit with too many wires can lead to overheating and damage. Follow these simple rules:
- Check Conduit Fill Limits: Refer to NEC or local codes to find out how many wires can safely fit in the conduit based on its size.
- Allow Room for Air Circulation: Wires need space for air to circulate and dissipate heat. Too many wires crammed into one conduit can create a fire hazard
By leaving enough space in the conduit, you ensure safety and prevent overheating.
How to Calculate Conduit Fill?
Calculating conduit fill is essential to ensure that the electrical installation is safe, efficient, and code-compliant. Overfilling a conduit can lead to overheating, difficulty pulling wires, and even potential fire hazards. Electrical codes like the National Electrical Code (NEC) or the Canadian Electrical Code (CEC) specify the maximum number of wires and the total cross-sectional area of wires that can be safely installed in a conduit.
Maximum Conduit Fill Percentages:
Number of Conductors | All Conductor Type |
1 | 53% |
2 | 31% |
Over 2 | 40% |
Why Is It Important?
- Prevents Overheating: Overfilling creates excessive heat buildup, which can damage wire insulation and pose safety risks.
- Ensures Easier Wire Pulling: Adequate space inside the conduit reduces friction, making it easier to pull wires without damaging them.
- Maintains Code Compliance: Following fill calculations ensures you meet safety standards and avoid penalties.
The fill percentage varies depending on the conduit type and number of wires. For exact specifications and step-by-step guidance on how to calculate conduit fill, refer to our previous PVC Conduit Fill Chart. Always consult the NEC or CEC for the most accurate and applicable standards in your region.
How long does electrical conduit last?
The lifespan of electrical conduit can vary depending on the material used, the installation environment, and maintenance. Common conduit materials include PVC, galvanized steel, and flexible metal conduit (FMC). Here’s a general idea of how long conduit lasts:
- PVC Conduit can last for decades, with a typical lifespan of over 50 years. It is resistant to moisture, corrosion, and UV damage, making it ideal for outdoor and underground installations.
- Galvanized Steel Conduit (like EMT or rigid metal conduit) is highly durable, especially in environments prone to physical damage or exposure to chemicals. It can last up to 50 years or more but may corrode in harsh environments if the protective coating wears off.
- Flexible Metal Conduit (FMC) is more prone to wear and tear and may need replacement sooner, generally lasting around 20-30 years depending on usage conditions.
Regular inspections and proper installation can help extend the life of the conduit system, ensuring safety and longevity for the electrical wiring it protects.
Conclusion
Feeding wire through conduit effectively requires the right methods, tools, and careful planning to avoid damaging the wire or conduit. Whether using manual techniques, tools like fish tape, or even pulling machines, each method has its unique advantages and applications depending on the complexity of the job. Safety is always a top priority, so ensure that your wire pulling practices follow electrical codes, use appropriate safety gear, and properly plan for any bends, obstacles, or long pulls.
By understanding the various methods available—manual pulling, using a string, mouse, fish tape, fishing weight, or pulling machine—you can optimize the wire-pulling process for both small and large-scale projects. Additionally, knowing the lifespan of conduit and the importance of conduit fill calculations will ensure long-term, safe installations. Following these best practices, you can improve efficiency, reduce the risk of damage, and keep your electrical systems running smoothly for years to come.